Add new contacts via CSV
- Select Import in the top right of the Audience page.


- Hover on CSV and click Upload CSV. Download the example formatted CSV to get an idea of the columns we use. By default, we recommend using at least
Email,First Name,Last Name,Middle Name,NoteandDate of Birthcolumns.
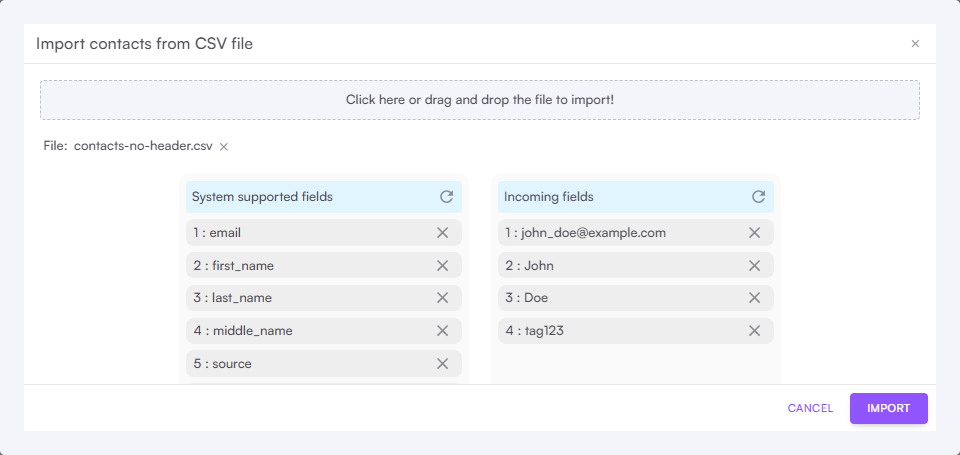
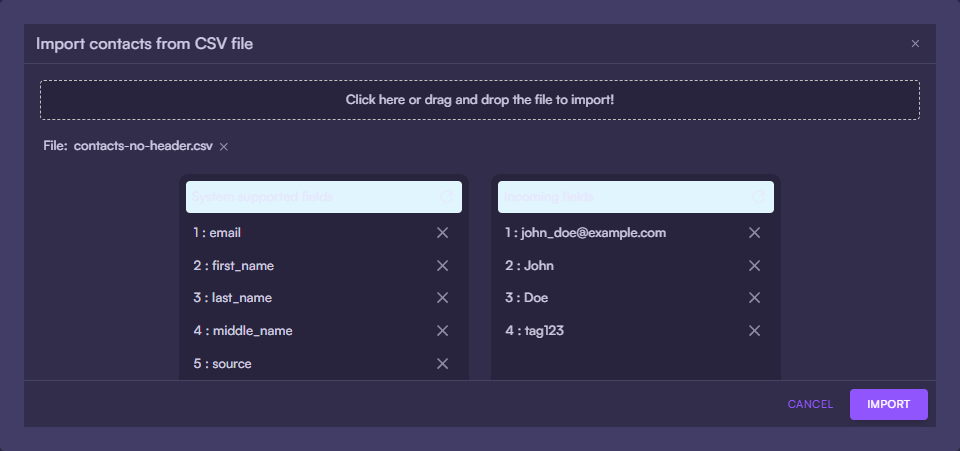
- After uploading the CSV you’ll have a chance to review any duplicates or missing information before finishing.
- When the upload is finished, all the uploaded contacts can be viewed in the Audience page. That’s it! 🎊
Update contacts via CSV
You can also upload a CSV file to update your existing contacts in bulk. You can either download a CSV from your Audience page in Cocoonmail, edit the data and re-upload it, or start with a new CSV file and just include the contacts and columns you want to update. When updating contacts, Cocoonmail will first look for a matching contact using the value in theEmail column.
If a contact is found, Cocoonmail will update the contact using the data provided in the CSV file. If a contact is not found with Email values, a new contact will be created using the data provided.
Important notes
- All contacts uploaded are not subscribed.
- The default
Sourcevalue for each uploaded contact will be “import”. - Cells that are empty in the CSV file will not overwrite existing data in Cocoonmail. If you want to clear a field, you will need to provide a value of
nullin the CSV file (4 characters, all lowercase). - If you want duplicate contacts to be imported , click on the Create duplicate checkbox .
- If you want to assign tags, segments and lists for the importing contacts , then you need to select the Tags , Add to segments and Add to Audience lists respectively from the dropdown.
- If you want to import the contacts with headers , then you need to click on the checkbox File has headers.