Authentication
Start here if you want to use the Cocoonmail API to add contacts to your Cocoonmail audience, update their attributes, and send events to Cocoonmail.Authentication Steps
Authentication Steps
To begin, you need an API key. Go to the Cocoonmail ‘API Key’ page in the Settings section and click on “Generate key”.
 This generates an API key. You can give it a name that is easy to understand.
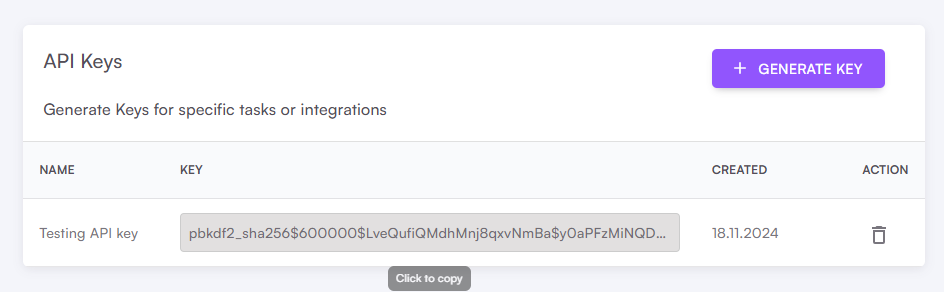
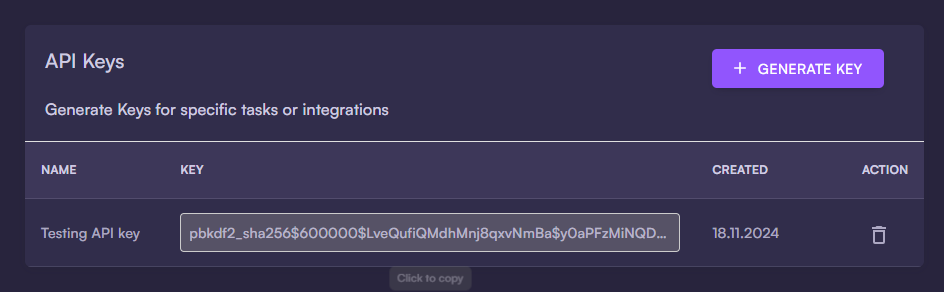 We suggest using a different API key for different purposes. You can remove an API key anytime by clicking the trash icon.When making an API call, add an Authorization header and set the API key as a Bearer token:You can test your API key by making a
This generates an API key. You can give it a name that is easy to understand.We suggest using a different API key for different purposes. You can remove an API key anytime by clicking the trash icon.When making an API call, add an Authorization header and set the API key as a Bearer token:You can test your API key by making a POST request to https://webhook.cocoonmail.com/webhook/api_key/validate/. If successful, you will receive { "success": true }As a Curl request (replace pbkdf2_sha256$600000$8ELnVRTWG2JddDkU3gP59U$eZFMR4pr349lcc3gTHK24vPthVMsY279jpoL/W2g3Mo= with your own API key):SDKs
SDKs are software packages built on top of the API, making it easier to integrate into your project.Javascript
The official JavaScript/TypeScript SDK for Cocoonmail.
Unofficial SDKs
The following SDKs are community-submitted and have not been officially reviewed or endorsed by Cocoonmail. We recommend thoroughly testing and reviewing the code before integrating it into your project.- Laravel
- PHP